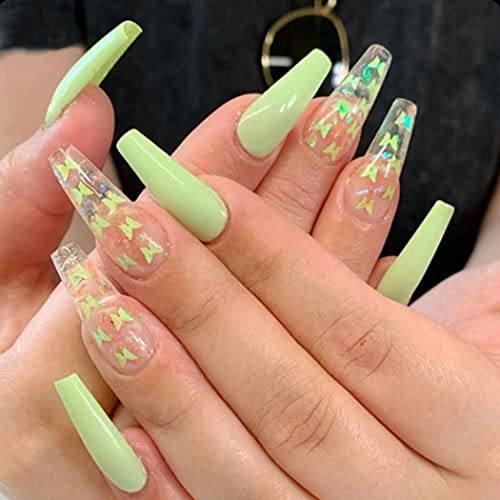
Nail stickers have become all the rage lately, and it’s not hard to see why. They offer an effortless way to jazz up your nails and can be changed according to your outfit or mood. However, buying nail stickers can be pricey, and finding the perfect design can be a challenge. That’s where making your own nail stickers at home comes to the rescue. In this article, we’ll guide you through the step-by-step process of crafting your very own nail stickers.
Materials You’ll Need
Before we jump into the nitty-gritty, let’s gather all the materials required to make your own nail stickers.
Clear contact paper or sticker paper
Nail polish or acrylic paint
Scissors
Tweezers
A pen or pencil
A design template or stencil (optional)
You can find clear contact paper or sticker paper at most craft stores or online. When it comes to nail polish or acrylic paint, choose colors that will stand out against your nail color. The scissors and tweezers will be your trusty tools for cutting out and applying the nail stickers. A pen or pencil will help you trace your designs onto the contact paper or sticker paper. Lastly, if you’re not confident in your freehand drawing skills, feel free to use a design template or stencil.
Step-by-Step Guide to Making Nail Stickers
Now that we have everything ready, let’s dive into the process of creating your very own nail stickers.
Choose Your Design:
Start by deciding on the design you want to create. It can be as simple as basic shapes or as intricate as detailed patterns. If you’re not confident in your drawing skills, you can search for design templates or stencils online and simply print them out.
Trace Your Design:
Once you have your design, carefully trace it onto the clear contact paper or sticker paper using a pen or pencil. Take your time to ensure accurate and neat tracing.
Paint Your Design:
Using nail polish or acrylic paint, fill in your design with utmost care. Make sure to let it dry completely before moving on to the next step.
Cut Out Your Stickers:
Once your design is dry, take your scissors and delicately cut out the nail stickers. Tweezers can be of great help in removing them from the contact paper or sticker paper.
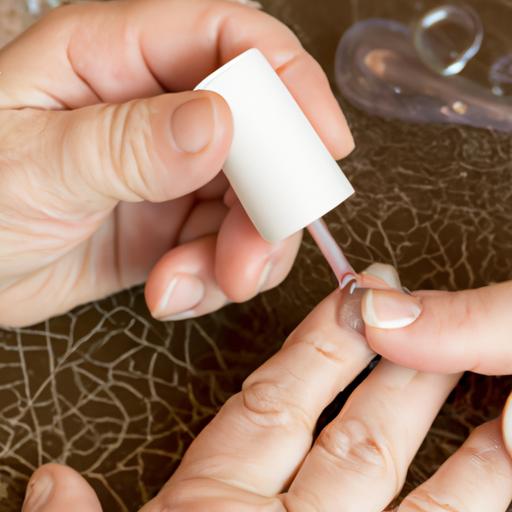
Apply Your Stickers:
Apply your nail stickers to your nails, pressing them down firmly. Smooth out any bubbles or wrinkles with your finger or a cuticle pusher. Lastly, seal in your stunning design and make it last longer by applying a topcoat.
Making your own nail stickers at home is not only enjoyable but also allows you to add a personal touch to your nail art. With the right materials and a little patience, you can create mesmerizing designs that are bound to impress.
Designing Nail Stickers: Tips and Tricks
Designing your own nail stickers opens up endless possibilities. Here are a few tips to help you create unique and eye-catching designs:
1. Embrace Simplicity
If you’re new to making nail stickers, it’s wise to start with simple designs. Stick to basic shapes like polka dots, stripes, or hearts. Once you’re more confident, you can experiment with more intricate patterns.
2. Play with Colors
When selecting colors for your nail stickers, take into account your skin tone and nail color. Opt for shades that contrast with your skin and complement your nail hue. For a fun and playful look, feel free to mix and match colors.
3. Seek Inspiration
Get inspiration from fashion and beauty blogs, social media, and magazines. Create nail stickers inspired by your favorite hobbies, movies, or TV shows. Don’t be afraid to think outside the box and try something new.
4. Harness the Power of Stencils and Templates
If drawing isn’t your forte, rely on stencils and templates to create your nail stickers. Online sources offer a wide variety of ready-made options. Alternatively, you can design your own templates using computer programs or by tracing an image.
By following these tips, you’ll be able to craft stunning and unique nail stickers that are bound to make a statement. So, unleash your creativity and let your nails do the talking!