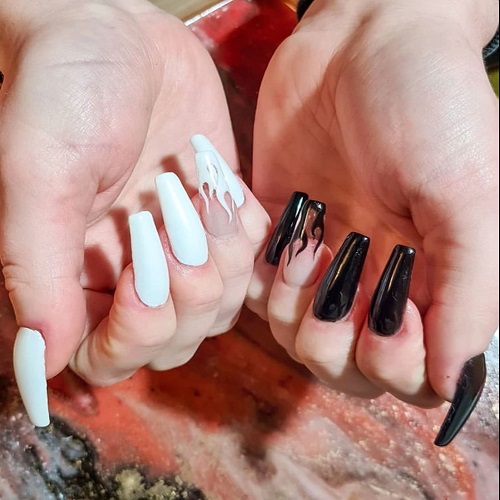
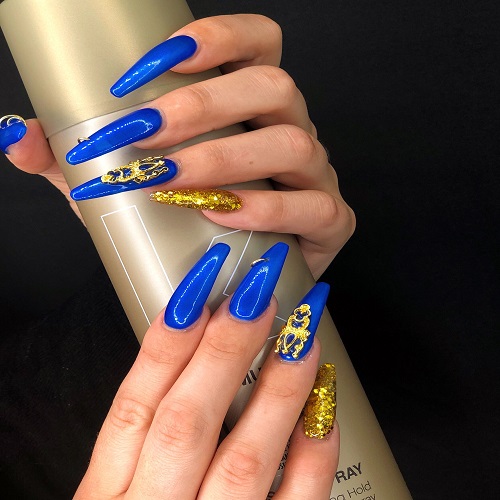
Nail foil has gained immense popularity in the nail industry, and it’s not hard to see why. This trendy and exciting technique allows you to create unique and stunning nail designs that can effortlessly enhance any outfit. If you’re new to nail foil and feeling a bit overwhelmed, don’t worry! We’ve got you covered with this step-by-step guide on how to use nail foil, from preparing your nails to maintaining your fabulous nail creations.
1. Understanding Nail Foil
Before we dive into the details, let’s briefly discuss what nail foil actually is. Nail foil typically comes in thin sheets or rolls made of metallic or holographic material. These sheets can be cut into various shapes and sizes to create intricate and eye-catching designs on your nails. With an array of colors and patterns available, you’ll have no trouble finding the perfect nail foil for any occasion.
Nail foil has become increasingly popular among nail enthusiasts and professionals due to its limitless creative possibilities. It provides a unique way to express yourself through your nails, and with a little practice and patience, you can achieve stunning designs that will turn heads wherever you go.
2. Essential Materials for Using Nail Foil
To get started with nail foil, you’ll need a set of essential materials. Here’s a list of everything you’ll require to bring your nail art dreams to life:
Nail Foil Sheets or Rolls: Choose high-quality nail foils in various colors and patterns to suit your style.
Base Coat: This initial polish layer protects your nails and creates a smooth surface for the nail foil to adhere to.
Nail Polish: Select a color that complements your chosen nail foil design.
Nail Foil Glue: An adhesive specifically designed for attaching nail foils to your nails effectively.
Tweezers: You’ll need these to place the nail foil onto your nails with precision.
Dotting Tool or Toothpick: These tools help you create intricate designs or patterns on your nails.
Top Coat: The final layer of polish that adds shine and protection to your nail designs.
You can find all these materials at your local beauty supply store or online. Now that you have everything you need, let’s move on to the next step: preparing your nails for the nail foil application.
3. Preparing Your Nails
Properly preparing your nails is essential for achieving flawless nail foil applications. Follow these steps to ensure your nails are ready:
Remove any existing nail polish using nail polish remover.
Trim, file, and shape your nails to your desired length and shape.
Gently buff your nails to create a smooth surface—this step ensures optimal adherence of the nail foil.
Thoroughly wash your hands and nails to remove any dust or debris.
Ensure your hands and nails are fully dry. Moisture on your nails can lead to wrinkling or bubbling of the nail foil.
With your nails prepped and ready, it’s time to learn how to apply nail foil like a pro.
4. Applying Nail Foil
Follow these step-by-step instructions to achieve flawless nail foil applications:
Apply a base coat of nail polish to your nails and allow it to dry completely.
Using a thin, even layer, apply nail foil glue to the areas of your nails where you want to place the nail foil.
Wait for the glue to become tacky, usually around 30 seconds.
Carefully place the nail foil onto your nails using tweezers. Ensure you press down firmly to secure the foil in place.
Gently rub the nail foil with your fingers to eliminate any bubbles or wrinkles.
Employ a dotting tool or toothpick to create unique designs or patterns on your nails.
Seal the nail foil and protect your designs by applying a layer of top coat.
Allow the glue to dry completely before applying the nail foil to prevent bubbling.
Use a small amount of glue to avoid excess seepage from the sides.
Utilize a soft-bristled brush to remove any surplus nail foil.
Practice gentleness when applying the nail foil to prevent tearing.
By following these simple steps, you’ll be able to create stunning nail designs that are guaranteed to leave a lasting impression. Now that you have mastered the art of applying nail foil, let’s move on to the final segment: maintaining your gorgeous nail creations.