Are you tired of spending a fortune on commercial nail polish removers? Want to switch to a natural and budget-friendly option for removing your nail polish? Well, look no further! In this article, we’ll teach you how to make your own nail polish remover using ingredients that you already have in your kitchen.
Benefits of DIY Nail Polish Remover
There are plenty of advantages to making your own nail polish remover at home. Here are just a few:
Cost-Effectiveness
One of the major perks of creating your own nail polish remover is that it’s cost-effective. Commercial removers can be expensive, especially if you use them frequently. By making your own, you’ll save money that you can put towards other beauty products.
Natural Ingredients
Another benefit of DIY nail polish remover is that you can use natural ingredients. Commercial removers often contain harsh chemicals that can harm your nails and cuticles. By opting for natural alternatives, you not only protect your nails, but also avoid exposing yourself to harmful substances.
Safe and Simple
Making nail polish remover at home is safe and super easy. The ingredients are readily available, and the process is straightforward. You don’t need any special equipment or training to whip up your own nail polish remover. Plus, you have complete control over the ingredients, allowing you to customize the recipe to your liking.
Ingredients Needed to Make Your Own Nail Polish Remover
To create your own nail polish remover, you’ll need either acetone or non-acetone options. Acetone is a powerful solvent that removes nail polish quickly, but it can also dry out your nails and cuticles with excessive use. Non-acetone options are milder and less drying, but they may require more time and effort to remove the polish.
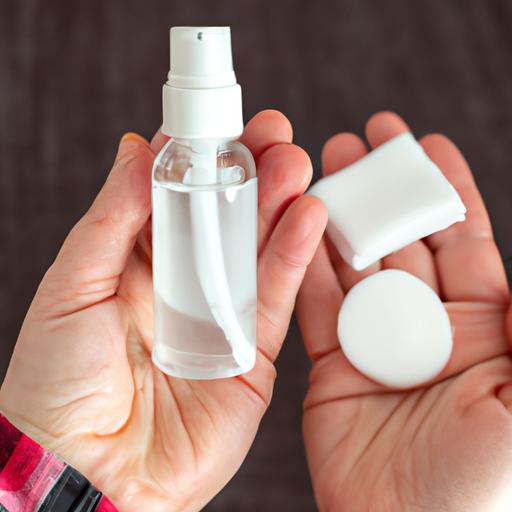
In addition to the chosen remover, you’ll need the following:
A small glass jar or container with a secure lid
Cotton balls or pads
A dropper or measuring spoon
A few drops of essential oil (optional)
Step-by-Step Guide to DIY Nail Polish Remover
Acetone-based Remover
Pour approximately 1/4 cup of acetone into the glass jar.
Add a few drops of essential oil (optional) and mix well.
Dip a cotton ball or pad into the acetone mixture and squeeze out any excess liquid.
Place the cotton ball or pad on your nail and hold it in place for a few seconds.
Gently rub the cotton ball or pad over your nail, applying slight pressure to remove the polish.
Repeat steps 3-5 until all the polish has been removed.
Rinse your hands with water and apply moisturizer to your nails and cuticles.
Non-Acetone Remover
Pour approximately 1/4 cup of non-acetone remover into the glass jar.
Add a few drops of essential oil (optional) and mix well.
Dip a cotton ball or pad into the non-acetone mixture and squeeze out any excess liquid.
Place the cotton ball or pad on your nail and hold it in place for a few seconds.
Gently rub the cotton ball or pad over your nail, applying slight pressure to remove the polish.
Repeat steps 3-5 until all the polish has been removed.
Rinse your hands with water and apply moisturizer to your nails and cuticles.
Note: If you don’t have non-acetone remover at hand, you can also use vinegar or lemon juice as a non-acetone alternative. Mix equal parts of vinegar or lemon juice with water in a glass jar and follow the same process outlined above.
Tips for Using Homemade Nail Polish Remover
While making your own nail polish remover is a fantastic alternative to commercial products, it’s important to take some precautions. Here are a few tips to keep in mind:
Precautions for Using Homemade Nail Polish Remover
Always work in a well-ventilated area to avoid inhaling fumes.
Avoid contact with your eyes and skin. If contact occurs, rinse immediately with water.
Do not use on damaged or infected nails.
Wash your hands thoroughly after use.
Storing Your DIY Nail Polish Remover
Store your homemade nail polish remover in a cool, dry place away from direct sunlight. It’s best to use a glass or metal container with a secure lid to prevent evaporation. Avoid storing the remover in plastic containers, as acetone can dissolve the plastic and cause leaks.
In Conclusion
Making your own nail polish remover at home is not only easy, but it’s also a wallet-friendly alternative to commercial products. By using natural ingredients, you’ll protect your nails and avoid exposing yourself to harmful chemicals. Plus, you can customize the recipe to suit your preferences. We hope this article has inspired you to give it a try! Just remember to take the necessary precautions when using homemade nail polish remover and store it properly. Say goodbye to expensive and harsh commercial removers and say hello to an all-natural and gentle approach to removing your nail polish.